Elevate Holidays with 3D Laser Cut Photo Frames
The holiday season often demands more than just store-bought decorations; it calls for personalized touches that convey warmth and creativity. For makers, small business owners, and DIY enthusiasts, the Christmas 3d Photo Frame Laser Cut Svg represents a perfect intersection of traditional sentiment and modern fabrication technology. This digital asset is not merely a file; it is a blueprint for creating tangible, layered art that transforms flat materials into stunning three-dimensional displays. Whether you are running an Etsy shop, teaching a workshop, or looking to craft unique gifts for family, understanding how to leverage these designs can significantly enhance your output and engagement.
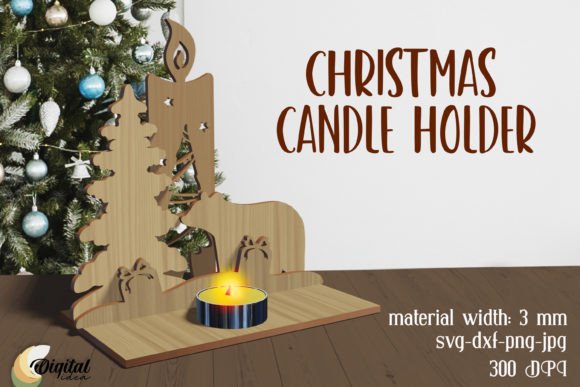
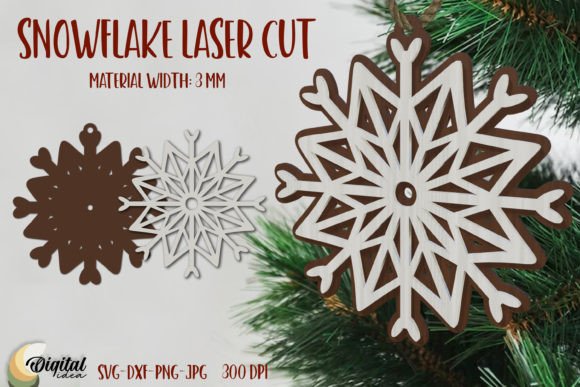
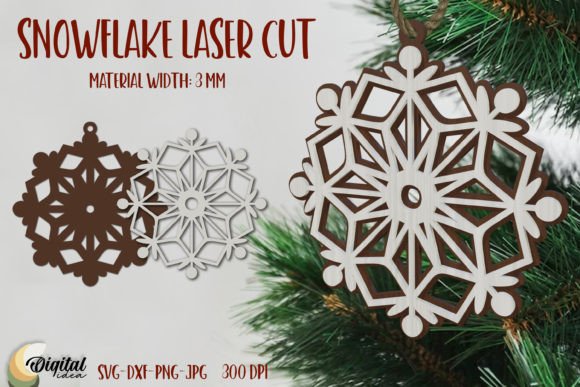
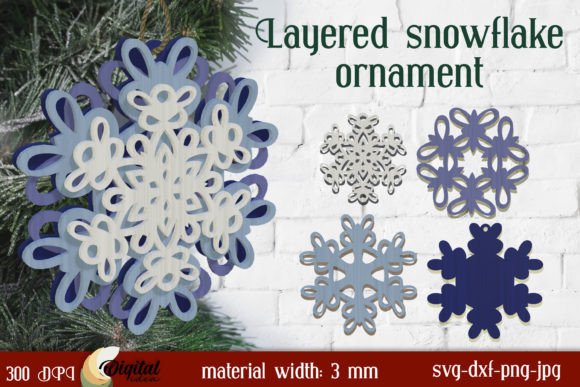
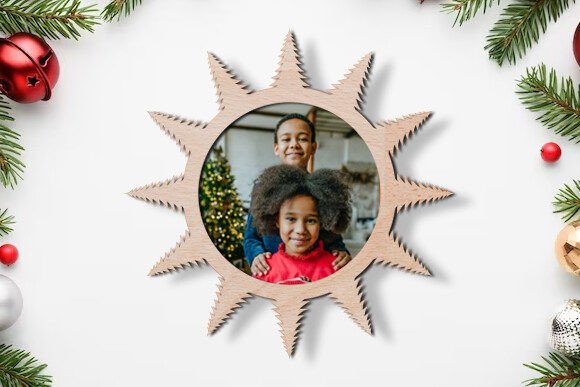
At its core, this design format utilizes the precision of laser cutting or CNC routing to slice multiple layers of material—typically wood, acrylic, or cardstock. When stacked, these layers create depth, shadow, and texture that a single-layer cut simply cannot achieve. The Christmas 3d Photo Frame Laser Cut Svg usually features intricate holiday motifs such as holly leaves, snowflakes, reindeer, or ornate borders that surround a central space designated for a photograph. The magic lies in the layering; by offsetting each successive layer, you create a parallax effect that draws the eye inward toward the memory captured in the photo.
Why Choose Layered Designs for Holiday Projects
The primary strength of using a Christmas 3d Photo Frame Laser Cut Svg is the perceived value it adds to the final product. In a market saturated with mass-produced items, handmade goods with visible depth and craftsmanship stand out. For entrepreneurs, this means higher price points and better customer retention. For hobbyists, it offers a satisfying project that looks professional upon completion. The versatility of the file formats included in these packages ensures compatibility with almost any workflow, from high-end industrial lasers to desktop hobby machines like Glowforge or xTool.
Furthermore, these designs are incredibly efficient. Once the file is prepared, the machine does the heavy lifting regarding precision. This allows creators to focus on material selection, finishing, and assembly. The scalability of vector files means you can resize the frame to fit standard photo sizes like 4x6 or 5x7 without losing resolution or detail. This adaptability makes the Christmas 3d Photo Frame Laser Cut Svg a reliable asset for batch production during the busy Q4 season.
Comprehensive File Formats for Every Workflow
When you invest in a high-quality design package, versatility is key. A robust download typically includes a wide array of file types to ensure seamless integration into your specific software ecosystem. You will generally receive the following formats in the zip archive:
- AI (Adobe Illustrator): Ideal for professional graphic designers who need to edit anchor points or modify the design before cutting.
- EPS: A universal vector format compatible with CorelDRAW, Inkscape, and other vector editing tools.
- SVG: The web-standard vector format, perfect for cloud-based cutting software and easy scaling.
- DXF & DWG: Essential for CAD users and specific laser cutting machines that prefer these engineering standards.
- PNG & JPG: High-resolution raster images useful for previewing the design, creating marketing mockups, or using with print-and-cut machines.
Having access to both vector and raster formats ensures that whether you are a tech-savvy engineer or a casual crafter, you have the right tool for the job. The inclusion of DXF and DWG files is particularly notable for users operating older or industrial-grade machinery that may not natively support SVG imports.
Practical Applications Across Industries
The utility of the Christmas 3d Photo Frame Laser Cut Svg extends far beyond simple home decor. Educators can use these projects to teach students about geometry, layering, and spatial reasoning in STEM workshops. By assembling the frames, learners gain hands-on experience with structural integrity and design logic.
For marketers and brand strategists, these frames offer a unique avenue for client gifts. Imagine sending a corporate holiday card that isn't paper, but a custom-branded wooden frame holding a photo of the team or a scenic office shot. It creates a lasting impression and serves as a desk accessory that keeps your brand visible year-round. Similarly, photographers can bundle these frames with their holiday mini-session packages, adding a physical deliverable that increases the perceived value of their service.
In the retail sector, pop-up shops and boutique owners can utilize these designs to create eye-catching window displays. The 3D nature of the frames catches light and shadow dynamically, drawing passersby into the store. The ability to mass-produce identical yet intricate pieces allows for cohesive visual merchandising without the high cost of custom molding or casting.
Step-by-Step Implementation Guide
Executing a project with these files is straightforward, provided you follow a logical workflow. Here is how to transform the digital file into a physical masterpiece:
- Download and Extract: Begin by downloading the file to your computer. Locate the zip archive in your downloads folder and extract all contents. It is crucial to keep the files organized, perhaps in a folder named by project date, to avoid confusion between different versions or layers.
- Software Integration: Open your preferred cutting machine software (such as LightBurn, Sure Cuts A Lot, or the manufacturer's proprietary app). Import the appropriate file type—usually SVG or DXF. Verify that the scale matches your intended physical dimensions. Assign different colors to different layers in the software to help visualize the stacking order.
- Cutting Process: Load your chosen material onto the machine bed. Common choices include 3mm birch plywood, MDF, or colored acrylic. Run a test cut on a scrap piece to dial in your power and speed settings. Once optimized, proceed to cut each layer. Pay attention to the "kerf" (the width of the cut) if your design relies on tight friction fits, though most photo frames are glued.
- Assembly and Stacking: Once all layers are cut, clean off any soot or residue. Refer to the serial order provided in the design documentation. Stack the layers in the correct sequence, applying wood glue or acrylic cement between them. Insert the photograph into the designated slot or behind the back layer. Clamp the frame gently until the adhesive cures.
With these simple steps, you can create your stunning Christmas Photo Frame laser cut design. The process is repeatable, making it easy to refine your technique with each unit you produce.
Selecting the Right Materials for Best Results
The final appearance of your project depends heavily on material choice. For a rustic, cozy feel, light-colored woods like maple or birch work beautifully, especially when stained or left natural. If you aim for a modern, sleek aesthetic, consider using two-tone acrylics or mirrored backs to make the photo pop. When working with the Christmas 3d Photo Frame Laser Cut Svg, ensure your material thickness is consistent across all layers; variance can lead to uneven gaps that disrupt the 3D illusion.
Additionally, consider the environment where the frame will live. Outdoor displays require weather-resistant materials like HDPE plastic or treated wood, while indoor frames can utilize more delicate papers or thin veneers. Always evaluate the end-use case before committing to a specific substrate.
Creating with digital templates allows for a blend of efficiency and artistry. Whether you are fulfilling orders for a holiday market or crafting memories for your own mantle, these files provide a solid foundation for innovation. We are happy to answer any questions you may have regarding file compatibility or machine settings. Thank you for visiting my store, and we look forward to seeing what you create with these designs.